



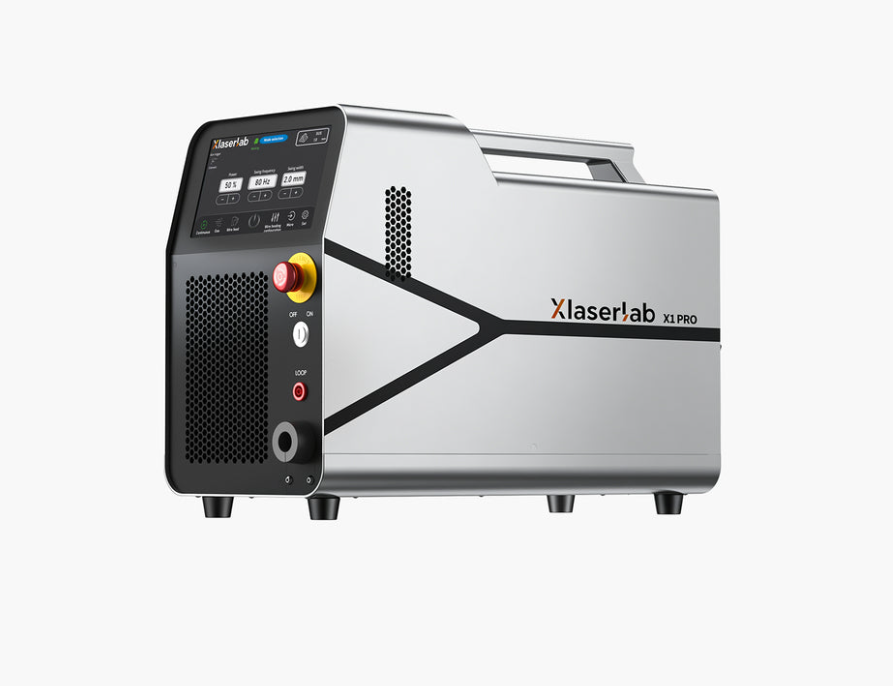
Fabricators who make the jump from TIG or MIG to laser welding usually notice the difference on their very first sample. Seams look smoother, distortion drops, and cleanup becomes almost an afterthought. Yet the switch also brings a fresh set of habits to learn, from how to prep the metal to how to steady the handpiece over a long weld. Small workshops, jewelry makers, sheet-metal shops, and mold repair specialists all end up asking the same practical questions: which settings actually work, how thin can I go, and how do I avoid burn-through on the corners?
This guide walks through the fundamentals of modern fiber laser welding without the marketing gloss. You will find how the process behaves on stainless, aluminum, and carbon steel, what to check before pulling the trigger, and where operators most often trip up. By the end you should have a repeatable workflow you can bring back to the bench and apply on the next order.
What Laser Welding Really Does Differently
At its core, laser welding uses a highly focused beam to heat a narrow line of metal until it fuses. Because the energy is concentrated in a very small spot, the surrounding material stays cool, which is why panels do not warp the way they do under a stick or MIG arc. That single trait reshapes the workflow: you spend less time on jigs, less time on grinding, and less time cleaning splatter off finished surfaces. For shops that used to fear thin gauges, handheld laser welding turns 0.5 mm sheet from a nightmare into an everyday job.
The trade-off is precision. A laser beam does not tolerate a sloppy fit-up. Gaps of even half a millimeter can leave you chasing a bead that keeps dropping into the joint. So the workflow shifts backward: more attention to cutting and clamping, less attention to filling and grinding.
Continuous Wave vs. Pulsed Modes
Most handheld units let you toggle between continuous and pulsed output. Continuous wave lays down a steady seam and is ideal for long runs on stainless kitchens, railings, or shelving. Pulsed mode fires short bursts of energy and is what you want on thin stock, jewelry claws, or spot fixes near heat-sensitive components. A useful habit is to sketch a mental map before each job: long straight seam on 1.5 mm stainless goes continuous, tack on a jewelry ring goes pulsed, closing a pinhole in a mold goes single pulse with a wide beam.
Setting Up the Machine for Your Material
Every metal responds to the beam differently, and the operator’s job is to match the parameters to what is in the fixture. There is no single power setting that fits everything, but there is a repeatable process for finding the right one quickly.
Stainless and Carbon Steel
Stainless is the friendliest starting point. Start with the mid-range power the manufacturer recommends for your thickness, keep the wobble width narrow, and hold a steady 3 to 5 mm standoff. Carbon steel behaves similarly but reacts more to oil or rust, so wipe the joint before you start. If the puddle looks dark or spits, drop the power a notch rather than moving faster.
Aluminum and Reflective Alloys
Aluminum reflects a lot of the incoming energy at low power and then suddenly absorbs it once the surface breaks. The result can be a jumpy weld unless you push the power higher and keep travel steady. Wider wobble helps distribute heat across the joint. Clean, degreased edges matter even more here because oxide layers form quickly and interfere with penetration.
Copper and Brass
These alloys are the toughest of the common metals for a fiber laser. Reflectivity is high, thermal conductivity is even higher, and small mistakes compound quickly. Use higher power, tight standoff, and short runs with pauses so heat does not spread down the workpiece. If you weld copper often, invest in a matching nozzle and dedicated protective lens rather than trying to reuse the ones you set up for stainless.
Building an Operator Routine That Sticks
Consistency in laser welding comes from the operator, not the machine. A well-tuned unit will still produce ugly welds if the person driving it changes technique between beads. Two habits pay off immediately.
The first is a repeatable body position. Rest the wrist, plant an elbow, and pull the torch toward yourself rather than pushing. Pulling gives a better view of the puddle and reduces micro-tremors that cause ripples. The second habit is to test on scrap of the same thickness before every new job. Ninety seconds of test welds save half an hour of rework on a customer part.
Shielding Gas and Nozzle Care
Argon is the default for stainless and titanium; nitrogen works well for many stainless applications and often costs less. Aluminum usually prefers argon or an argon-helium blend. Flow rate matters as much as the choice of gas: too low invites porosity, too high creates turbulence that pulls oxygen into the puddle. Check the nozzle opening for spatter each shift and swap the protective lens the moment you see a smudge. A single dirty lens can wipe out an afternoon of good beads.
Common Mistakes and Fast Fixes
The mistakes new users make tend to fall into a small pattern. Recognizing them saves rework hours.
- Beads that undercut on the edges usually mean too much power for the travel speed. Slow down the wobble, drop the power slightly, and the shoulders will fill back in.
- Porosity dots along the seam almost always trace back to shielding gas or contaminated metal. Inspect the flow meter first, then clean the joint.
- Burn-through on thin sheet points to too long a dwell in one spot. Widen the wobble or switch to pulsed mode with a shorter pulse duration.
- A weld that keeps dropping into the joint signals a fit-up gap. Fix the mechanical setup rather than compensating with more filler wire.
Brands like Xlaserlab publish parameter tables in their manuals for a reason: they cut the guesswork out of the first hour on a new material. Keep those tables at the bench and mark them up with your own notes over time.
When to Add Filler Wire
Autogenous welds without any filler are the star of laser welding demos, but real-world parts often need a bead that stands slightly proud of the joint or a fillet that ties two panels together. A wire feeder solves both problems. Match the wire chemistry to the base metal, set the feed rate a hair below what you would use on a MIG unit, and let the beam do the melting. For visible seams on decorative stainless, a fine wire and a narrow wobble produce a stack of ripples that looks like TIG without the heat input.
Bringing It All Together at the Bench
Laser welding rewards operators who slow down at the front end and speed up at the back end. Cleaner prep, tighter clamping, and a scrap test before every new part are what separate consistent beads from occasional lucky ones. Match the mode and gas to the material, respect reflective alloys with tighter parameters, and keep the protective lens spotless. Do that, and a fiber laser will outproduce a traditional setup on almost any job it touches, from thin stainless enclosures to mold repairs on the shop floor. The learning curve is real but short, and the finish quality is what keeps most users from ever going back.